
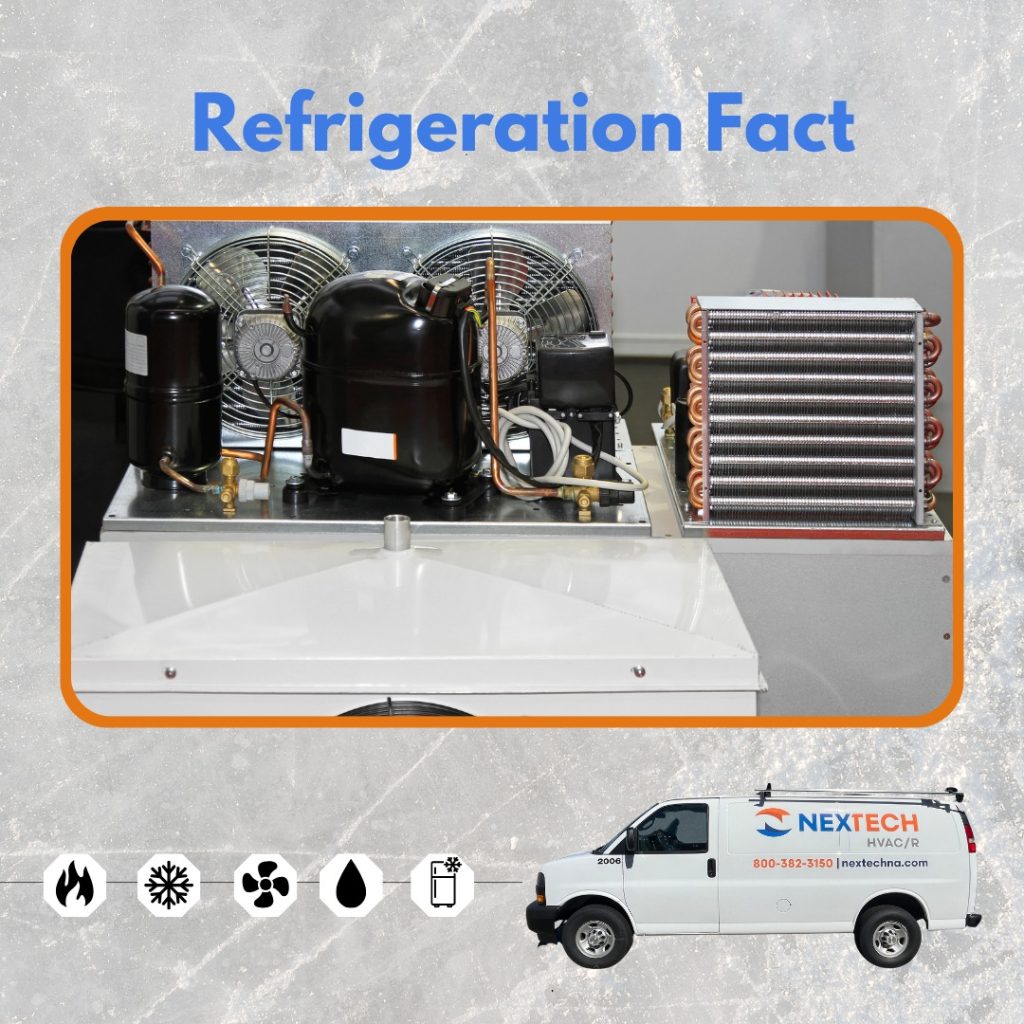
Walk-in cooler alarms are easy to ignore—until they turn into spoiled product, food-safety risk, and a very expensive day for your team. This checklist is built for facility managers, store leaders, and restaurant operators who need a repeatable response plan that protects inventory and keeps operations steady. During the summer months, higher ambient heat can shrink your margin for error when refrigeration performance dips. If you want deeper context on how to think through refrigeration-related issues in a commercial facility, start with Understanding Commercial HVAC System Troubleshooting Fundamentals.
The Essentials to Do First
- Confirm it’s a real alarm, not a nuisance alert. Check what triggered it (high temp, door ajar, power loss, comms fault) and whether it’s persistent or cleared.
- Protect product immediately. Keep doors closed, limit access, and pause stocking/picking that increases door openings.
- Escalate using a preset call tree. Notify the on-duty manager and the designated refrigeration contact; document who acknowledged.
- Capture the “snapshot” before conditions change. Record alarm type, time, displayed temperature, and any obvious site conditions (busy loading, recent deliveries).
- Decide: monitor vs. dispatch. If temperature is trending up or the alarm repeats, move to professional service coordination.
How a Walk-In Alarm Typically Gets Triggered
A walk-in monitoring system generally alarms when measured conditions fall outside set limits for a defined time window. Common triggers include sustained temperature rise, extended door-open time, power interruptions, sensor issues, or communication failures between the controller and monitoring platform. Not every alarm means the refrigeration system “failed,” but every alarm is a signal that conditions may be drifting away from safe storage requirements.
The practical goal of your response plan is to (1) stabilize conditions, (2) reduce heat load and door activity, (3) document what happened, and (4) route the issue to the right level of support—without turning your team into DIY technicians.
The Real-World Cost of Waiting Too Long
- Inventory exposure: The longer product sits in warming conditions, the higher the likelihood of shrink, disposal, or quality complaints.
- Operational disruption: Teams pivot to emergency transfers, re-prep, or 86’ing menu items—often during peak periods.
- Compliance and brand risk: In regulated environments, temperature excursions can create documentation and audit headaches.
- Repair complexity: A small issue (like recurring door-open events) can mask a bigger one (like airflow restrictions) if it’s not addressed systematically.

High-Priority Mistakes That Make Alarms Worse (Checklist)
- ✓ Silencing the alert without documenting it. If the alarm clears, you still need a record of what happened and what was checked.
- ✓ Propping doors open “just for a minute.” That minute has a habit of turning into a shift change—and a temperature trend you won’t like.
- ✓ Changing setpoints on the fly. Adjusting thresholds to stop notifications can hide real performance problems and complicate troubleshooting later.
- ✓ Assuming it’s always a sensor problem. Sometimes it is. Sometimes it’s airflow, loading practices, or a developing mechanical issue.
- ✓ Waiting for a second alarm to act. Repeats are useful data, but your plan should define when one alarm is enough to escalate.
- ✓ Skipping the “store conditions” check. Delivery rushes, frequent entry, and warm product loading can drive alarms even when equipment is working.
A Smart Response Checklist Your Team Can Follow
- ✓ Step 1 (Immediate): Identify the alarm type and scope. Note which box (cooler vs. freezer), which zone/sensor, and whether multiple assets are alarming.
- ✓ Step 2 (Immediate): Reduce heat load. Minimize door openings, stop nonessential access, and ensure the door fully closes and latches.
- ✓ Step 3 (Within 10 minutes): Confirm basic operating context. Note recent deliveries, restocking activity, or unusual traffic that could explain a short-term rise.
- ✓ Step 4 (Within 15 minutes): Start an incident log. Record time, temperature reading, who responded, and what operational changes were made.
- ✓ Step 5 (Within 30 minutes): Check trend direction. If readings are stabilizing, keep monitoring per your policy; if trending worse, escalate.
- ✓ Step 6 (Escalation): Notify the right stakeholders. Use your call tree for operations, facilities, and approved service coordination.
- ✓ Step 7 (Containment): Plan for product protection. If conditions continue to drift, prepare controlled product moves per your internal food-safety process.
- ✓ Step 8 (After action): Capture what changed. Document when the alarm cleared, what actions were taken, and what follow-up is required.

Professional Insight: What Most Teams Miss
In practice, we often see alarms treated as a single event instead of a pattern. When teams consistently log the same few details (time, activity level, door behavior, and trend direction), recurring alarms become easier to categorize and route—whether the fix is operational (traffic and loading) or requires a qualified commercial refrigeration technician.
When to Escalate to Commercial Refrigeration Support
- ✓ Temperature continues rising after access is reduced. A sustained upward trend is a clear escalation trigger.
- ✓ Repeat alarms within the same shift or day. Recurrence suggests the underlying condition wasn’t resolved.
- ✓ Multiple assets alarming at once. This may indicate power, controls, or a broader facility issue.
- ✓ Product risk is increasing. If you’re approaching internal hold/discard thresholds, involve professional support and leadership immediately.
- ✓ Alarm type indicates a system or communication fault. Power loss, controller faults, or repeated comms errors should be handled through your approved service process.
Common Questions, Answered
What should we record when a temperature alert comes in?
Log the time, the displayed temperature, the alarm type, which unit/zone is affected, who acknowledged it, current store activity (deliveries/stocking), and what immediate steps were taken to reduce door openings and heat load.
How do we tell if it’s an operational issue or an equipment issue?
Start by checking whether conditions stabilize after reducing access and pausing warm-product loading. If the temperature trend keeps moving in the wrong direction or alarms repeat, treat it as a service escalation rather than an operations-only issue.
Should we change alarm thresholds to reduce notifications?
It’s usually better to address the underlying cause and refine notification rules through an approved facilities process. Changing thresholds ad hoc can hide developing problems and complicate later diagnosis.
Who should be on the escalation call tree?
Include an on-duty manager, the facilities lead, the designated refrigeration point of contact, and any internal food-safety/compliance stakeholder your organization requires for product-risk decisions.
What’s the difference between a nuisance alert and a serious one?
A nuisance alert is typically brief and resolves once normal conditions return (for example, short-term door activity). A serious alert is persistent, repeats, or shows a worsening temperature trend—especially when operational factors have already been controlled.
Taking Control of Your Alarm Process
A clear response plan turns a walk-in cooler alarm from a panic moment into a managed process. Prioritize immediate product protection, consistent documentation, and defined escalation triggers so your team doesn’t waste time guessing. Over time, your logs also help you spot patterns that can reduce repeat incidents. If you want, you can turn this checklist into a one-page SOP for every site and shift.
Want More Information?
Download our free resource to learn more about this topic.