
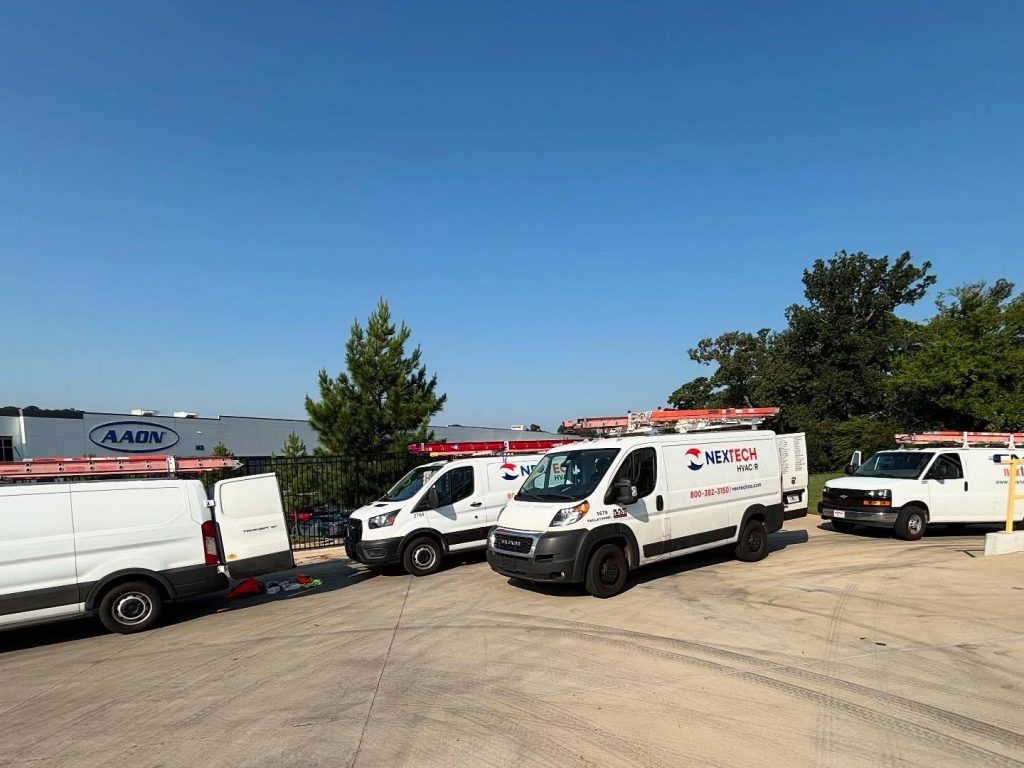
Scoping a repair is how you turn “the building is uncomfortable” into a clear, actionable plan—without wasting time, budget, or tenant patience. This guide is for facility managers, operations leaders, and multi-site teams who need to request, approve, and manage commercial HVAC repairs with fewer surprises. As spring transitions into warmer days, small performance issues can become very noticeable in occupied spaces, making good scoping even more valuable. Done well, scoping helps you communicate symptoms accurately, capture the right equipment details, and set expectations for access, approvals, and follow-up work—so the technician can diagnose efficiently and you can make confident decisions.
If you want deeper context on common system failure patterns and how they’re typically resolved, see Understanding Commercial HVAC System Challenges and Solutions.
Bottom Line Upfront: What a Good Scope Includes
- A clear problem statement (what’s happening, where, when, and how often).
- Equipment identification (unit type, tag/asset ID, location, and any known model/serial info).
- Operating impact (comfort complaints, product risk, space closures, or process disruption).
- Access and constraints (roof access rules, escorts, after-hours windows, permits, or security requirements).
- Decision path (who approves quotes, spending thresholds, and preferred communication method).
How Repair Scoping Works in Commercial Buildings
A “scope” is the shared definition of the issue and the work needed to address it. In commercial environments, that definition has to cover more than the equipment fault—it also needs to reflect business constraints (occupied hours, safety procedures, customer experience, and approvals). A strong scope typically starts with symptoms and operating context, then narrows to the specific asset and affected zones. From there, it clarifies what information the technician needs on arrival (access, contacts, site rules) and what you need back (findings, options, estimated downtime, and any next steps like parts or follow-on visits).

The Business Impact of a Vague Repair Scope
When a scope is thin, the first visit can turn into a fact-finding mission rather than a repair. That can affect:
- Time to resolution: missing asset details or access info can delay diagnosis and parts ordering.
- Total cost: repeat trips, extended labor time, and expedited parts/shipping can increase spend.
- Occupant experience: unmanaged expectations can trigger more complaints and escalations.
- Operational risk: unresolved temperature or ventilation issues can disrupt critical areas like retail floors, kitchens, or pharmacy spaces.
- Approval friction: unclear decision owners and thresholds can stall quotes and scheduling.
Common Scoping Missteps (Checklist)
- Using only a symptom label: “No AC” without where/when/how long leaves too many unknowns.
- Not identifying the asset: “RTU on the roof” is risky when there are multiple similar units.
- Skipping recent history: prior repairs, recurring alarms, or recent setpoint/schedule changes matter.
- Forgetting access rules: roof hatches, key control, ladders, escorts, and check-in requirements can derail arrival.
- Not defining affected areas: which zones, tenants, or departments are impacted—and how severely.
- Leaving approvals ambiguous: if no one can authorize work, the visit may end with “awaiting approval.”
Your Step-by-Step Plan to Scope Commercial HVAC Repairs
What you’ll achieve: a technician-ready repair request that reduces back-and-forth, speeds diagnosis, and supports clear repair/replace decisions.
Prerequisites (Have These Ready)
- Site contacts (primary and backup) and preferred communication method
- Asset list or at minimum unit tags/locations for the affected area
- Basic building constraints (hours, roof access process, security check-in)
- Any recent service notes, alarms, or work orders for the same issue
-
Write a precise problem statement
Capture what’s happening, where it’s happening, and when it occurs (constant, morning-only, after occupancy, etc.). Include how the issue was detected (complaint, BAS alert, temperature log, visual observation).
Tip: Use a simple format: “Symptom + location + timing + impact.” Example: “Warm air in sales floor Zone 3 after noon; customer complaints increasing; thermostat reads 76°F while setpoint is 72°F.”
-
Identify the exact asset (and how to find it)
Provide the equipment tag/asset ID, unit type (RTU, split system, make-up air, etc.), and physical location (roof quadrant, mechanical room, above ceiling in suite, etc.).
Tip: If model/serial info is available in your CMMS, include it—but the asset tag and location are often the fastest “on-site” identifiers.
-
Define the affected spaces and severity
List the zones/areas impacted and what “failure” means operationally (comfort complaints, product risk, kitchen disruption, occupancy limits, or tenant escalation).
Tip: Add any constraints: “Cannot shut down during business hours” or “Work window after closing preferred.”
-
Document recent changes and relevant history
Note recent filter changes, thermostat replacements, schedule adjustments, construction activity, power events, or prior repairs on the same unit.
Tip: Even “nothing changed” is useful—say it explicitly to reduce guesswork.
-
Confirm site access and safety requirements
Spell out check-in procedures, PPE requirements, roof access method, ladder restrictions, escort needs, and any permits or lockout/tagout expectations.
Tip: Provide the fastest path to the unit: door, stairwell, hatch location, and who holds keys/badges.
-
Set the decision and approval pathway
Clarify who can approve diagnostics, who can approve repairs, and what happens if parts are needed (quote process, not-to-exceed limits, and preferred documentation).
Tip: If you have spending thresholds, include them so recommendations can be packaged accordingly (repair option vs. replacement option).
-
Request the right deliverables from the visit
Ask for findings, likely root cause, recommended next steps, expected downtime, and any follow-on requirements (parts lead time, return visit, or additional trades).
Tip: If you manage multiple locations, request a consistent format so work orders are comparable across sites.
Professional Insight: What Most Teams Miss on the First Pass
In practice, we often see that the fastest repairs happen when the scope includes both the symptom timeline (when it fails) and the access reality (how a tech actually reaches the unit). Those two details alone can prevent the most common delays: arriving at the wrong asset and losing time to site logistics.
When It’s Time to Bring in a Commercial HVAC Pro
- Recurring failures: the same area or unit keeps drifting out of temperature or tripping alarms.
- Multiple zones affected: issues span several spaces, suggesting controls, airflow, or system-level problems.
- Unclear root cause after basic observation: symptoms don’t match obvious triggers like schedule changes or blocked returns.
- Business-critical spaces: comfort or temperature stability directly impacts operations (retail, kitchens, pharmacies, healthcare clinics).
- Coordination complexity: roof access, after-hours windows, or multi-stakeholder approvals are slowing response.
Frequently Asked Questions About Repair Scoping
What information should be on a repair request to avoid delays?
Include the symptom, exact location, affected areas, asset tag/ID, access instructions, site contacts, and who can approve next steps if additional work is needed.
How detailed should we be if we don’t know what’s wrong?
Focus on observable facts: when the issue happens, what areas are impacted, what controls are showing, and any recent changes. A good scope doesn’t require a diagnosis—just clear, verifiable context.
Should we prioritize comfort complaints or system alarms?
Capture both when possible. Complaints help define impact and timing, while alarms help narrow where to start. Together they typically speed up troubleshooting.
What’s the difference between a diagnostic visit and a repair visit?
A diagnostic visit confirms the root cause and defines the work needed. A repair visit completes the corrective work, which may depend on approvals, parts availability, and access windows.
How can multi-site teams make scoping consistent across locations?
Use a standard template with required fields (asset ID, symptom timeline, impacted zones, access rules, approvals). Consistency reduces back-and-forth and makes vendor communication more efficient.
Taking Action: Build a Scope That Speeds Resolution
A strong scope turns a vague complaint into a repair-ready work order that supports faster diagnosis, clearer approvals, and fewer return trips. Start with the symptom timeline and impacted spaces, then lock in the exact asset and access instructions. Finally, define who can approve what—so the work doesn’t stall at the most avoidable step: waiting for a decision. When your scoping process is consistent, your repair outcomes tend to be more predictable across sites.
Book Your Consultation
Schedule a free consultation with our experts.